How to Create UI in Godot 4: Core Concepts
Godot's UI system is built on Control nodes, anchors, and containers. Once you get how these three pieces fit together, you can build anything from a simple health bar to a full responsive menu that works on any screen size. This is part 1 of our Godot UI series, and we'll cover everything you need to get started from zero.
How do I create UI in Godot 4?
Hi there! This is a short introduction about how to make user interfaces in Godot, from main menus, inventory systems, game HUD and more, while keeping it responsive for different screen resolutions.
This post is the start of our own learning notes on Godot (we'll release multiple ones!), and we also genuinely love UI so we hope we'll make it easier for you as well.
Core concepts
In Godot all UI elements are subclasses of the "Control" node. Godot 4 ships with over 30 built-in Control nodes out of the box, covering most common UI needs without any extra plugins. If you also need to create custom inspectors in Godot C#, we have a separate post about that.
This includes Buttons (to handle click/mouse pressure), Labels (to display text), Progress Bars (to display a percentage) and much more.
where to find control nodes in Godot
At first, all control nodes are placed in a rectangle that's as big as the game resolution.
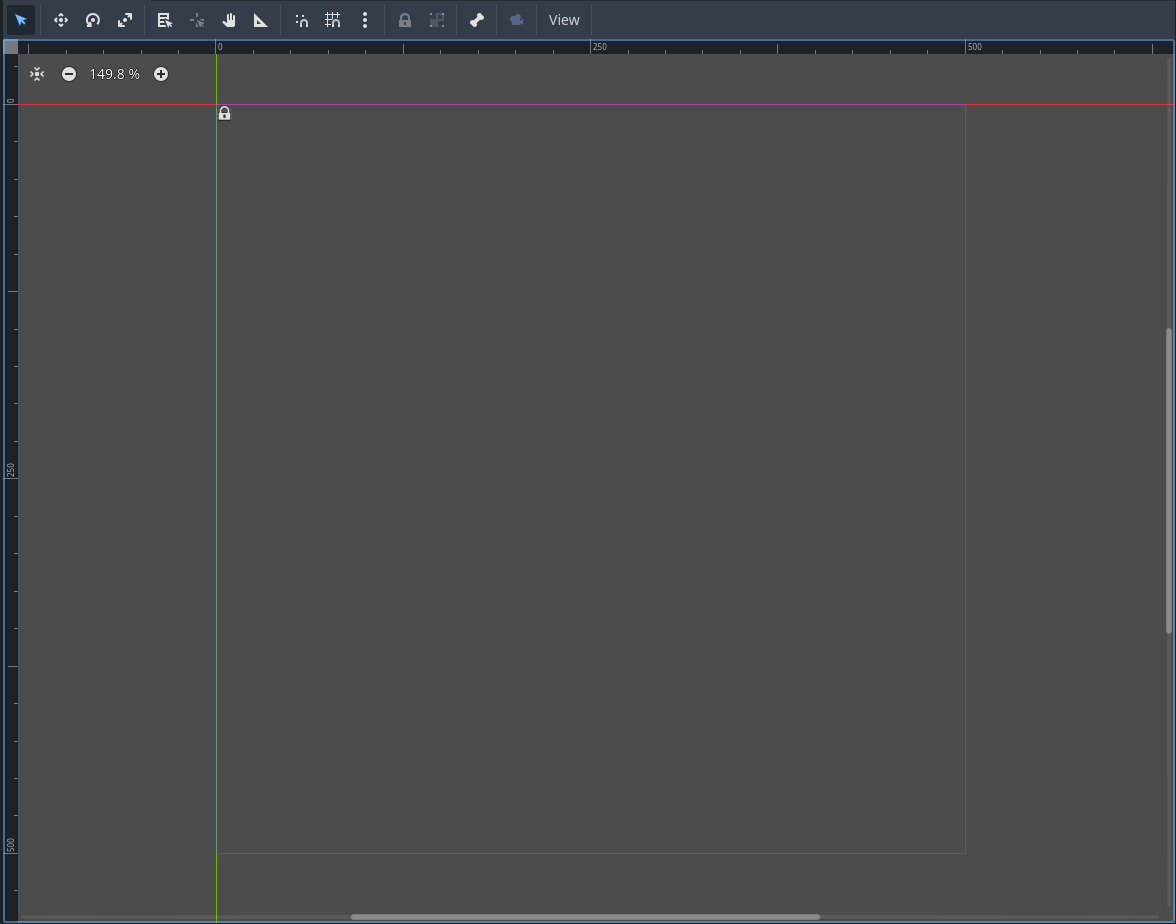
In Godot, the origin is in the upper left corner of the screen and Y is down.
(Sigh for multi-engine users)
Position and Size
Every Control node has position and size properties, which describe their presence on the screen.
Anchors
If we want to make a responsive UI (in other words: scaling based on different resolutions), then we want to link/constrain (or "anchor") a Control node based on its parent (you can think of the very first parent as the screen size/viewport), so that when something changes, our nodes also change correctly.
You can set a Control node anchors in a few ways. The quickest one (and what you'll probably use most of the time) is accessed at the top of the scene view.
How different anchors modify and relate to a Control node's settings
The anchors icons/templates can be interpreted in two ways:
- if the icon is "fixed", then you're anchoring the pivot of a node to its parent/container.
- if the icon is "filled" (from one side or both), then you're also controlling its dimensions based on the parent.
how "fixed" or "fill" anchors change objects proportions
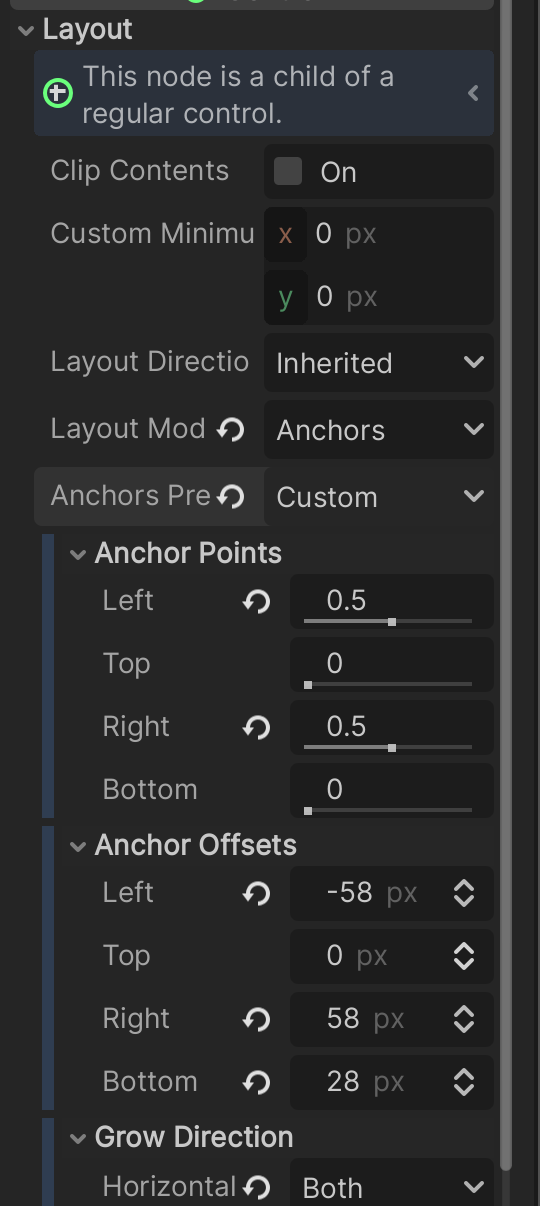
You can also set anchors manually via code, the inspector or the scene view/gizmo, to better control how an object resizes in the scene. If all the anchors are in the same spot, then it counts as "fixed" and you're only controlling the movement. If two or more anchors are away from each other, then you're also resizing based on their distance (if it's too far, then it will scale/change a lot, and vice versa)
setting anchors manually
Note: Godot used to mention "margins" up until version 4.3, but they're now referred to "Anchor Offset". We didn't mention them yet to introduce things more clearly, but just know that you can decide precisely how many pixels you want a control node to "stay away" (or closer) to its container, when resizing dynamically. This value is relative to the anchors ("fixed" vs "fill etc."), and it's set for you automatically when you use the icons/templates we talked above.
Now that you know how to resize elements, you could theoretically complete your full UI this way, but you'd find yourself having to set a lot of options manually and it would become a messy project really fast, especially if you have a lot of elements (or lists).
Using Containers
Godot provides a set of nodes called Containers, which automatically arrange children elements for you (based on specific layouts and settings).
adding control nodes
Containers can follow different layouts, like "Horizontal" (e.g. placing all elements next to each other on the same row), "Vertical" and so on, and you can also decide how to distribute them (if starting at the center, beginning or end). Godot 4 comes with at least 9 container types built in, from HBoxContainer and VBoxContainer to GridContainer and MarginContainer, so there's usually one that fits your layout without any manual positioning.
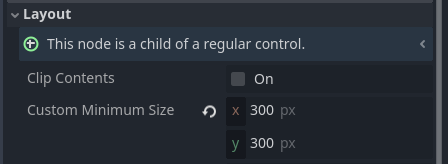
PSA you might want to set a "minimum size" to your children nodes, since containers have no way to know how big an object should be.
Frequently asked questions
What is the Control node in Godot?
Control is the base class for all UI elements in Godot 4. Any node that appears in the UI, such as a Button, Label or TextureRect, inherits from it.
How do I make a UI element fill the whole screen?
Select the node, open the anchor preset dropdown at the top of the scene view, and choose "Full Rect". The element will then resize automatically with the viewport.
When should I use a Container instead of setting anchors manually?
Use a Container whenever you have multiple elements that need consistent spacing or alignment, like a row of buttons or a vertical list. Manual anchors work fine for isolated elements.
What is Anchor Offset?
It's the pixel distance a node keeps from its anchor point. Godot sets it automatically when you use the anchor icon presets, but you can also edit it directly in the inspector for precise control.
In Conclusion
Here it ends part one about the core concepts of UI / Control nodes in Godot. It's all that is needed (in our opinion) to begin playing with the other building blocks (the actual elements that display information) like Buttons, Labels and much more, to create a responsive UI for your games/projects. Here is a list of common nodes from the Godot documentation. The official Size and anchors docs are also a great reference if you want to go deeper on anchor offsets and grow directions.
That said... it doesn't end here! We'll share part 2 in the next weeks continuing with signals, themes, animations and more, so that you can go from start to finish and achieve what you want. In the meantime, if you want to learn more about how to connect UI elements to your game logic, check out our post on Godot signals architecture. And if your UI fonts look blurry at different resolutions, we also wrote about dynamically scaling font size in Godot.
Thanks for reading through here (please consider supporting us, so that we can continue doing it) and hear you soon!
(P.S. The UI pack we've used, except for the background, is from Kenney's! You can download it here.)
Daniel is a junior programmer at Febucci Team. Specialized in tech art with a Computer Engineering background. Also co-founded and managed the first student video game development team in Italy with Gabriele.

Sincere posts about game development
We have been making games for more than 10 years and we want to share with you everything we have learned along this journey, from game engine tutorials to the way we see things in general, including heartfelt rants and exciting wins. If you find what we do valuable, please consider joining the newsletter!
- Exclusive insights sent via email only
- Read extra content when logged in
- Join a friendly and sincere community
- Help us stay independent from algorithms
More Posts


Comments